What's Up, Cupcake? Menu

Saturday, November 26, 2011

Sweet Treats Saturday: Scottish Shortbread

I love a good shortbread and it seems like such a classic holiday treat.  This shortbread is easy to make, and only requires three ingredients.  Package it up, and you have an easy holiday gift.


Scottish Shortbread
Recipe from allrecipes.com

Ingredients:
2 cups (4 sticks) butter
1 cup light brown sugar, packed
4 1/2 cups all-purpose flour

Directions:
1. Preheat oven to 325 degrees F.
2. Cream butter and brown sugar.  Slowly add 3 to 3 3/4 cups flour.  Mix well.
3.  Sprinkle board of silpat with flour, and knead the mixture, adding enough flour to make a soft dough.  Roll to 1/2 inch thickness.  Cut into 3x1 strips.  Prick with a fork and place on ungreased baking sheets (mine worked best on parchment paper).
4. Bake for 17 to 25 minutes (check in on them, mine took just the 17 minutes, while the originally recipe recommended a minimum of 20 minutes).


Packaging:
I packed these up in a cheap, cute container that you can pick up at your local Target, Wal-mart, or dollar store.  I took a piece of tissue, but added a sheet of wax paper to separate it from the cookies (so it didn't get greasy).  Place into the container and fill with cookies.  Fold the paper over, making sure the wax paper still separates the cookies from the tissue, close and gift.


You can decorate with additional ribbon, paper, or anything else you choose based on your package.

Thursday, November 24, 2011

I'm Thankful For...

I know Thanksgiving is only a US holiday, but I don't want to hesitate in being thankful for everyday! I was discharged from the hospital today after my surgery and am happy and thankful to be home and surrounded by friends, family, and my fur-babies.

My competition was fun and 'I did it!' which was my main goal. Disneyland was even better, and when I got back home, my surgery went without a hitch.  I'm on the road to recovery and am just grateful for everything as I move forward into the holiday season.

My crafting might be a little limited - sure I'll have a lot of free time, but limited mobility - so I will probably focus more on needlecraft projects.  I'll try to pop in from time to time as I plow my way through projects, and you can definitely look forward to the weekly Sweet Treats Saturday posts... I planned ahead.

I hope you all had a happy Thanksgiving and have time to reflect on the many things around you to be thankful for.

Saturday, November 19, 2011

Sweet Treats Saturday: Toffee Bars

This week I bring you another delicious treat that can be easily dressed up as a yummy gift.  You can do this with virtually anything, but I like these bars because they hold their shape well, and they look great all  packaged up.


The recipe calls these toffee bars though there isn't actually any toffee inside.  The buttery, sugary, shortbread does have a nutty, toffee taste, without the actual use of toffee or having to caramelize anything.

Toffee Bars
Recipe from allrecipes.com

Ingredients:
1 cup (2 sticks) butter, softened
1 cup light brown sugar, packed
1 egg yolk
1 tsp vanilla extract
2 cups all-purpose flour
1/4 tsp salt
6 (1.55 ounce) milk chocolate bars
1/2 cup finely chopped pecans

Directions:
1. In a medium mixing bowl, cream the butter and brown sugar.  Beat in egg yolk and vanilla.  Gradually add flour and salt, beating until smooth.
2. Press into greased 9x13in baking pan.  Bake at 350 degrees F for 17-19 minutes, or until light golden brown.
3. Immediately place chocolate bars on top (it will not cover the top fully) and place pan back into the oven for 1 minute.  Remove from oven and with an offset spatula, spread the melted chocolate over the shortbread.  Sprinkle with pecans.  Cool, then cut into bars.


Packaging:
When the bars were completely cool, I layered them, separating with a piece of wax paper.


Wrap with cellophane or put into a decorative bag.


Tie with ribbon, add a tag, and you have a delicious gift!


Thursday, November 17, 2011

Gimme some sugar!

I'm guest blogging over at Cajun Sugar Pie today. I wrote up a tutorial on how to make the delicious brown sugar cake into a baked gift that's all wrapped up and ready to share!  Check it out!


Wednesday, November 16, 2011

Going Green

Remember the yarn giveaway that I held in September?  Check out what the winner, Jennifer, has been up to since then.  I think I need to bookmark that pattern for myself!


Saturday, November 12, 2011

Sweet Treats Saturday: Dobos Torte

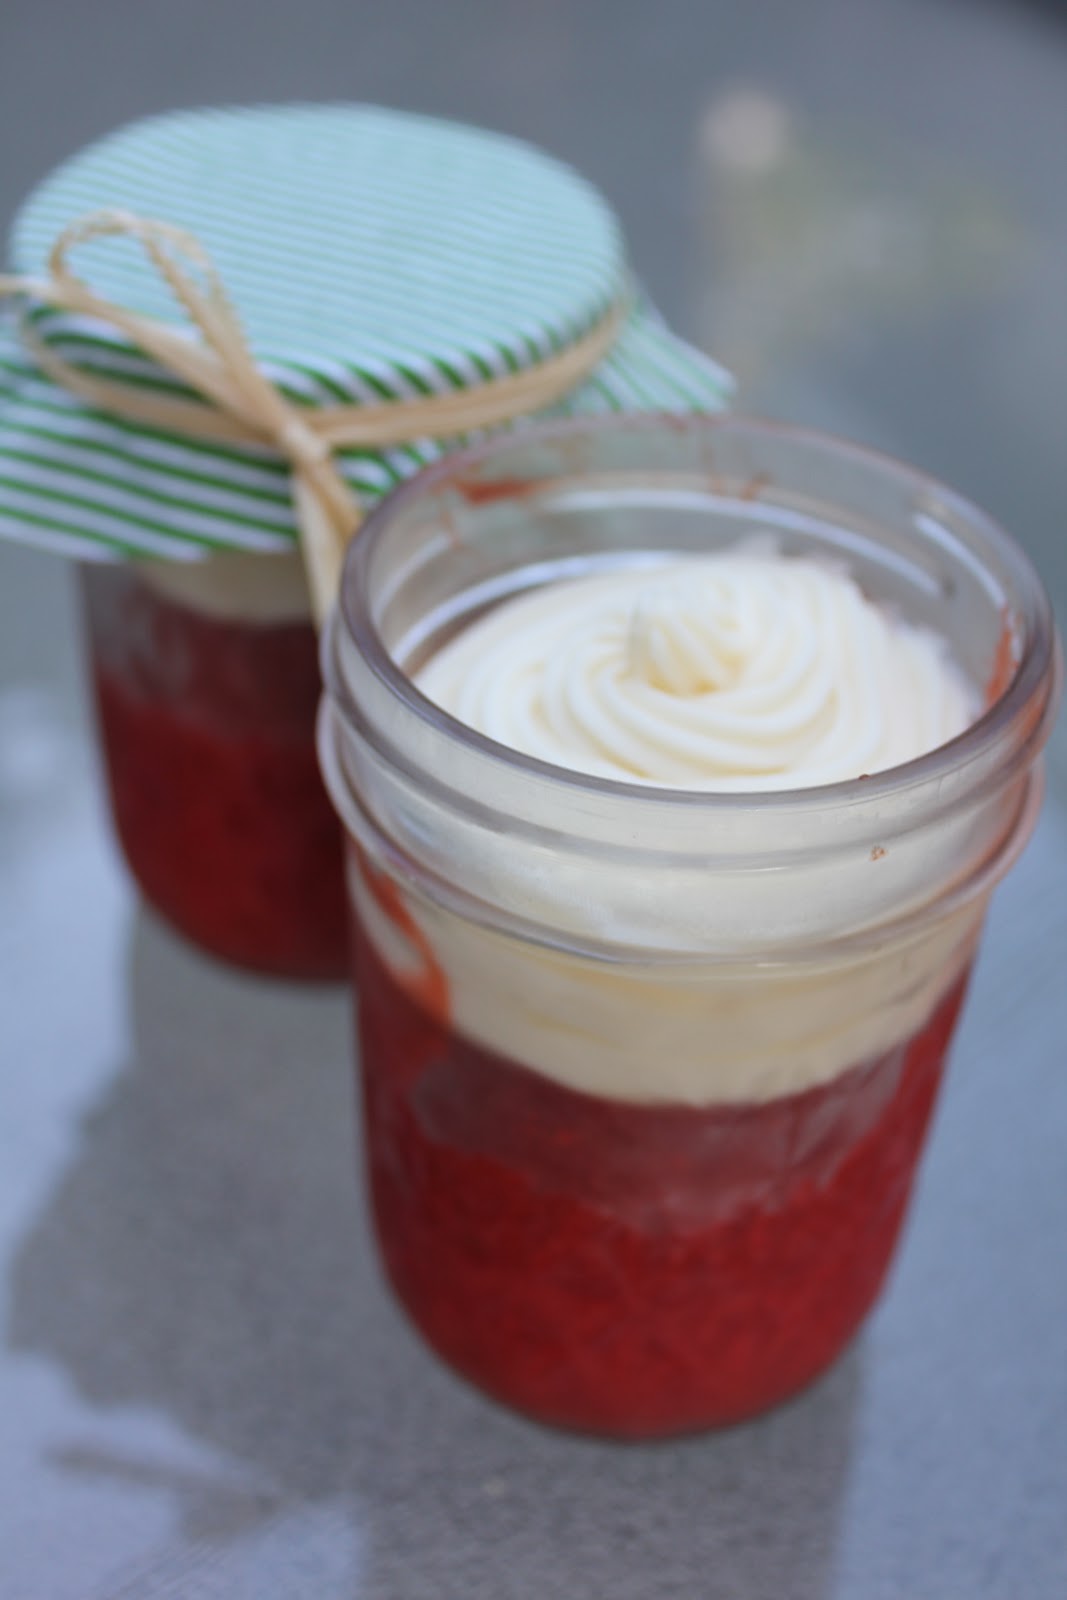
Admist the craziness that's going on right now, one of my very good friends celebrated a birthday.  We threw her a little celebration and I assumed cake duties.


I wanted to do something special, and something chocolate, as she always gets me the best cakes for my birthday.  I had tucked away this recipe from Smitten Kitchen as it was love at first site.  I was just waiting for the right moment to make it.


I will admit, it was a bit time consuming to make, but only because you had to space about the prep and baking time.  Aside from that, it was easy peasy.  I highly recommend that you check out Smitten Kitchen's post as she provides some valuable tips, as well as multiple options for how to bake and assemble the cake (in various shapes and sizes).  I went with (what she mentioned was) a traditional approach: the rectangular, 7-layer cake.


I was excited (and nervous) when I showed up with the cake.  Excited because it looked fantastic and I could tell it would be yummy; but nervous because one of my friends saw it and exclaimed, 'you brought a Dobos Torte! That's my grandma's specialty!'  Oh great, now I had to compete with grandma?  She said that it's their family tradition to make this cake every holiday season.  So the big test now came when she bit into it... and she gave it her seal of approval!  The only difference that she could tell, was that her grandma uses a lighter chocolate for the frosting. She approved of the dark chocolate and said the cake was just as delicious as the one grandma makes. Success!


There were no leftovers to be had, but full tummy's and chocolate overdoses... in a good way, of course.  It's worth the effort, especially for a special occasion.  According to Smitten Kitchen, you can make the cake layers ahead of time and just frost and assemble when you're ready.


Dobos Tarte
Recipe from Smitten Kitchen

A 6-layer 4×8.5-inch cake (the more traditional rectangle, baked in a single 12×17-inch sheet pan)

Cake layers:
7 large eggs, separated
3 large egg yolks
1 pound (3 1/2 cups or 455 grams) confectioners’ sugar, plus extra for dusting racks
3/4 cup (94 grams or 3 1/3 ounces) all-purpose flour
1 tablespoon lemon juice
1/8 teaspoon table salt

Frosting and filling:
1/2 pound (8 ounces or 227 grams) semi- or bittersweet chocolate, coarsely chopped
1/2 pound (2 sticks or 226 grams) unsalted butter, cut into chunks
1 teaspoon vanilla extract
3 large egg yolks
2 tablespoons confectioners’ sugar

Caramel layer (optional)
1/2 cup granulated sugar
1 tablespoon water
Handful of toasted, peeled hazelnuts

Prepare your cake pans: I used an 11x17 jelly roll pan and lined it parchment paper, and non-stick spray.  To make the rectangular shaped, 7 layer cake, I used the same pan twice, and just re-lined it with parchment.   If you are going to be doing a different shape, please refer to Smitten Kitchen's original post for suggestions.

Make the cake: Preheat oven to 450°F and place a rack in the center of your oven. In the bowl of an electric mixer, beat 10 egg yolks for a few minutes at high speed, until pale and lemon-colored. Reduce speed and gradually add sugar, then increase the speed and beat the yolks and sugar until thick and glossy. Scrape bowl occasionally with rubber spatula. Reduce speed again and gradually add flour; increase speed mix for 5 minutes more, then mix in lemon juice. Scrape bowl again with a rubber spatula. In a separate bowl with cleaned beaters, or by transferring your cake batter to a new bowl and washing it out and drying it with a long sigh, beat the 7 egg whites with a whisk attachment until they hold stiff peaks. Because your yolk mixture is more or less the thickness of spackle at this point, stir a few heaping spoonfuls of the whites into it to loosen the mixture, before folding in the rest of the whites in three additions. When you’re done, your batter will have transformed from a dry paste to a spreadable, foamy batter.

Bake your cake layers: Spread your batter in prepared pans; try to push the batter rather than pull it with an offset spatula, it will help keep the parchment from rolling up. Spread the batter evenly to the edges with an offset spatula; be careful not to leave any holes. I divided the batter in half and baked one at a time.

Bake each layer for 5 minutes, or until golden with some dark brown spots. When layer is baked, remove it from the oven and flip it out onto a cooling rack that has been dusted with a small amount of confectioners’ sugar. Carefully, gently remove parchment paper then flip cake back onto another lightly dusted cooling rack to finish cooling. It’s best to cool the layers right side up; the tops are the stickiest part.

Repeat with remaining layers. Dunk your cake batter bowl in water right away; that egg yolk-enriched batter dries quickly and was surprisingly hard to scrub off later! Layers will cool very quickly. Trim edges of cake, if needed, to make even shapes or divide larger rectangular pans accordingly.

Make the filling and frosting: Melt chocolate until smooth. Set aside to cool to room temperature, but of course not so cool that it hardens again. In the bowl of an electric mixer, beat butter until soft and smooth, scraping frequently. Add vanilla and 3 egg yolks. Add sugar and cooled chocolate, beating until thoroughly mixed and scraping as needed.

Assemble the cake: Cut your cake to size.  If doing the rectangular shape, cut each jelly roll cake into 4 - 4.25" strips.  You will have one extra (for the 7 layer cake) that you can use to make the optional caramelized shapes.  Place four strips of parchment or waxed paper around the outer edges of your cake plate. Place first cake layer on plate and spread chocolate on top and to edges with an offset spatula. The filling must be spread fairly thinly to have enough for all layers and the outsides of the cake. You can scale the frosting recipe up, but I was able to have enough for all 7 layers by spreading it ultra thin.  Repeat with remaining layers (or all layers except one, if you’d like to do a decorative caramel layer), stacking cake as evenly as possible. Once fully stacked and filled, you can trim the edges again so that they’re even.

Spread chocolate on outside of cake in a thin coat, just to cover and adhere the crumbs to the cake. Place cake in fridge for 30 minutes (or freezer for 5 minutes) to set the chocolate. Spread chocolate more thickly and smoothly to make a final exterior coat of frosting. Remove paper strips.


Assembled layers - ready to trim the edges to even them out

Caramel topping, if using: Lightly grease a sheet of parchment paper. Place last cake layer on this sheet. Lightly oil a large chef’s knife (if cutting layer into 16 traditional wedges) or sharp cookie cutter of your choice and set aside. Combine the sugar and water in a small, heavy saucepan and swirl it until the sugar melts and begins to turn a pale amber color. Quickly and carefully, pour this (you’ll have a bit of extra) over the prepared cake layer and spread it evenly with an offset spatula, right over the outer edges. Using prepared knife or cutter, quickly cut layer as you wish. Leave in place, then cool completely. Once fully cooled, cut edges of shapes again, to ensure that you can remove them cleanly. Arrange caramel pieces or wedges over cake, propping them up decoratively with hazelnuts.

Chill cake until needed.


I added the caramelized pieces right before serving


Thursday, November 10, 2011

Pressed for Time

So many things have been going on lately that I haven't had time to spend any time in my craft room.  Work has been crazy-busy, but aside from that two major things have been taking up my time:
1. I'm dancing in a big Irish dance competition. The regional championships, to be exact.  When I'm not at work, or soaking in epsom salts, I'm dancing.
2. I'm going to be having surgery in a couple of weeks that's going to have me down for the count for a bit.  I'm looking forward to the crafting time, but not looking forward to a recovery where I can't do my normal activities (dance), and possibly sewing for the first couple of weeks.

You would think this would mean that I would want to get as much sewing in as possible in the meantime, but due to the limited free time I have had, I don't want to start a project that I won't be able to finish for a while.

So I've worked on some portable needlecraft projects... my mother-in-law wanted a cowl for her trip to Canada and I had a wrap that I've been taking my sweet time on.  I finished both, but unfortunately only managed to get a photo of the latter.


I also started work on a crochet blanket.  I hope to make a lot of progress on it while I'm recovering, but I wanted to get started to make sure that I knew how to do it.  Working crochet in the round is still fairly new to me, so I had my doubts... well one thing led to another and I finished the entire first row.  Sometimes I just can't stop!

I folded the row in half, just to fit it into the picture
I've been working on a list of things I want to make while I'm recovering, and the good news is, I may be able to get some crafty holiday gifts done this year!  That bad news, sometimes I bite off a bit more than I can chew, so I'm just hoping I'm not planning too much.  I would like to get a pair of mittens for myself, and a new scarf as I keep giving away the other things I've made.

Anyways, those are my excuses.  In the meantime, I'll be doing a bit of baking in the next two weeks as I want to get my holiday gifts out early, so there should be some fun upcoming Sweet Treats posts.  I'll be back soon!

Saturday, November 05, 2011

Sweet Treats Saturday: Chocolate Ricotta Muffins

When we went camping a few weeks ago, I wanted to bring a dessert that could be easily packed away and would keep without refrigeration while we paraded around in the wilderness.  For some reason, the idea of combining chocolate and ricotta sounded perfect, so I did some hunting until I came across this recipe.


The bursts of chocolate chunks within the muffins was awesome!  The cupcakes can get dense, so make sure not to over-mix them.  These muffins would be perfect for brunches or to pack as a treat in a lunch box.  I didn't try it, but you could probably freeze them as well and let them defrost the night before for a delicious, make-ahead treat.

Chocolate Ricotta Muffins
Recipe from Joy of Baking

Ingredients:
1 cup ricotta cheese
2 large eggs
1 1/3 cup milk
1 tbsp vanilla extract
4 tbsp unsalted butter, melted and cooled
2 cups all-purpose flour
1 1/4 cups granulated sugar
2 tsp baking powder
1/2 tsp salt
2/3 cup cocoa powder, sifted
1 cup semi-sweet chocolate

Preheat oven to 350 degrees.  Line 16 muffin pans with liners or coat with non-stick spray.

In a medium bowl, whisk the ricotta cheese and then add the eggs, one at a time, beating well after each addition.  Add the milk, vanilla extract, and cooled and melted butter, mixing well.  Set aside.

In a large mixing bowl, whisk together the flour, sugar, baking powder, salt, and cocoa powder.  Add the ricotta mixture to the flour mixture.  Stir until just combined, then fold in the chocolate chips.  Do not over-mix the batter or the muffins will be tough when baked.

Divide the batter among the muffin cups, filling about 2/3 full.

Place in the oven and bake for approx. 20 minutes, or until lightly browned and a toothpick inserted into the center of a muffin comes out clean.  Place on a wire rack to cool.

Monday, October 31, 2011

Little Bo Peep... and her Sheep


Those of you who follow What's Up, Cupcake? on Facebook and Twitter may have seen my costume dilemmas.  This was actually a very fun and easy costume to make, the only challenge was that the cover drawing on the pattern was very much an animation, so I wasn't sure how long the dress would actually be.


I started by adding two inches to the skirt, but it was... umm...  scandalous.  I had to go back and re-cut the skirt (luckily I had enough fabric), adding four inches this time. I also made Colette's Madeline Bloomers as back-up in case any big gusts of wind came by.  The extra inches helped, and I was able to finish off my costume.  The hubby was also willing to go along with the theme (such a trooper) and so I drafted up a sheep costume for him.


Fabric: Blue and white cotton for Bo Peep, fuzzy sherpa-type fabric for the sheep.
Pattern: Simplicity 2072 for Little Bo Peep.  None for the sheep.
Notions: Lace trim for Bo Peep's sleeves.


We had a fun Halloween.  Our neighborhood gets a lot of trick or treaters and some of the houses get pretty into it.  We just carved some pumpkins, I took my little dance sister out for candy, and afterwards the hubby and I sat out decked out in our gear, giving out candy.  Hope you all had a fun Halloween too!

Saturday, October 29, 2011

Sweet Treats Saturday: Sugar and Spice Pecans

These candied pecans are one of my favorite holiday treats.  They're great for any time of year, but I always end up making them for the holidays.  They are the perfect, jar-friendly, easy-to-make, edible gift. Oh, and they're soooo yummy!  Really, I promise.  I made a batch for work and everyone was asking for the recipe.  Make them - you won't regret it.


I used the same jars as my cupcakes-in-a-jar.  Small, 8oz, canning jars.  You can buy these online, at many grocery stores (in the baking or canning section), and some craft stores.  I picked up a flat of a dozen for $8 at Wal-mart.

Sugar and Spice Pecans
Recipe from a friend

Ingredients:
1 lb pecans (4 cups)
1/2 cup sugar
2 1/2 tbsp corn oil
1 tbsp vanilla

Spice Mix (Combine to coat the nuts after baking):
1/2 tsp salt
1/4 tsp pepper
1/4 tsp coriander
1/4 tsp cinnamon
1/4 tsp nutmeg
1/4 tsp all-spice

Preheat oven to 350 degrees.

Boil water.  Add pecans and cook for 1 minute, stirring.  Drain pecans and put in medium bowl.  Add the corn oil and vanilla, stirring until the pecans are coated.  Add sugar and stir to coat.  Spread pecans in a single layer on a baking sheet.


Bake pecans for 30 minutes, stirring occasionally to ensure they don't stick or burn.  I stir a minimum of once every 10 minutes.

After 30 minutes, remove nuts from the oven and pour into a medium bowl.  Sprinkle with the spice mix, then stir to coat.  Let cool.


Once the pecans are cooled, you can add them to the jars.  You can fill 5 - 8oz. jars with one batch.  If you have any extras, I love to throw them in a bag, and store in the freezer.  These are delicious at room temperature, but I absolutely love them frozen.


Decorating:
You can decorate these how you like. I did two different options.

1. Wrap a band of ribbon around the top of the lid.  I attached this with double-sided scrapbooking dots.

2. Cut out a piece of fabric (this is perfect for fabric scraps you may have!) a little larger than the lid.  Tie a piece of ribbon, twine or raffia around the lid to hold in place.


If you don't have canning jars, fill plastic bags and tie with ribbon.


This post will be participating in the following Linky parties:

Saturday, October 22, 2011

Sweet Treats Saturday: Red Velvet Cupcakes in a Jar

You've probably seen cupcakes in a jar popping up all over the web and in your local bakeries.  There are a few variations that I've seen: ready made cupcakes popped into a jar, cakes cut up into pieces and put into a jar, and those made directly in it.  I'm going to show you how to do the latter.  I think this looks the cleanest of the bunch and is the most novel (a cupcake baked in a jar... what?!).  It's really not difficult to do, but it gets a great reaction from people, and is a great way to give out cupcakes.


These make perfect party favors, gifts for co-workers (especially when you don't want to just leave a cupcake out in the open on their desk), teachers gifts, etc.

What you'll need:
  • Canning jars. I use a minimum 8oz jar as that will hold a standard cupcake.  You can go larger, but consider cooking time, and how to balance the contents.
  • Cake batter and frosting. I made red velvets as they're a great color for the holidays, and can look really good with a contrasting green fabric top.  You can also make blue velvets, funfetti cupcakes, or really anything that you like.  
  • Decorating supplies.  This can be fabric scraps and raffia, ribbon, or even simple card stock cut to fit into the lid of the jar.
That's it!  The canning jars are everywhere, you just have to know where to look.  Check your local craft stores or grocery stores in the canning/baking aisle.  I bought mine a Wal-Mart as they had the best value (a dozen for approx. $8), and the exact size that I was looking for.

Red Velvet Cupcakes with Brown Sugar Cream Cheese Frosting
Recipe from Goodies by Anna

This recipe will make about 2 dozen cupcakes, or the same amount in 8oz jars.

Cupcake Ingredients:
2 1/2 cups cake flour
1 1/2 cups sugar
1 tsp baking soda
1 tbsp cocoa powder
1 tsp salt
2 eggs
1 1/2 cups vegetable oil
1 cup buttermilk
2 tbsp (1 oz) red food coloring
1 tsp vanilla extract
1 tsp white distilled vinegar

Preheat the oven to 350 degrees.

Sift together the flour, sugar, baking soda, cocoa powder, and salt in a medium bowl.

Beat eggs, oil, buttermilk, food coloring, vanilla and vinegar in a large bowl with an electric mixer until well combined.  Add dry ingredients and beat until smooth, about 2 minutes.

Pour batter into the individual cupcake pans or jars.  The same amount of batter would be used for a jar. It should only fill about a quarter full - keep in mind that the jar does not have a wider top portion like a standard cupcake, so it does rise a bit higher.  You still want enough room for frosting.

The batter on the left, baked cupcake on the right. It more than doubles in size.

Bake cupcakes until a toothpick inserted in the center comes out clean, about 20-25 minutes.  Let cakes cool completely before frosting.  If you baked them in the canning jars, it will take about an hour before they are cooled enough to add the frosting.

Frosting Ingredients:
*This is the edited frosting to make half a batch.  Goodies by Anna posted the original recipe with the comment that it made far too much so to half it in the future.
3/4 cup butter (one and a half sticks), softened
8 oz cream cheese, softened
2 tbsp light brown sugar, packed
1/2 tsp vanilla extract
pinch of salt
2-3 cups powdered sugar
1-2 tbsp milk depending on desired consistency

Cream the cream cheese in a medium bowl with an electric mixer for 1 minute.  Scrape down the bowl and add the butter, beating for 1-2 minutes, or until incorporated.

Add the brown sugar, pinch of salt, and vanilla extract, and beat until blended.

Turn off the mixer and gradually add the powdered sugar, mixing well in between each addition.  Alternate adding the sugar and milk until the frosting is smooth and has reached your desired consistency.

Once the cupcakes are cool, you can pipe the frosting on.  You can do this with a pastry piping bag, or with a regular plastic bag with a tip cut off.  If it's going into the jar, it doesn't need to look fancy.  Once the cupcakes are frosted, seal the jars and decorate.


I cut out circles slightly larger than the jar lid from scraps of fabric.  Hold down and tie with raffia or ribbon.  You can also attach a spoon to make enjoying the gift easier.


This post will be participating in the following Linky parties:

Monday, October 17, 2011

Covered in Stitches (and Yarn)

I took last week off from my sewing room as things were crazy busy.  We had an out-of-town friend staying with us, and free time was spent bonding over needlecraft activities.  She's a fellow knitter, and I refreshed her memory on how to crochet.  I ended up spending the rest of the week working on my pending needlecraft projects, including a crochet wrap, and my submission for the Covered in Stitches embroidery contest.

Here's a peek at my crochet wrap...


The yarn is by Three Irish Girls, and I picked it up at my LYS, Bobbin's Nest.

I think the green and grey hues of the yarn may actually serve as my main color palette for my winter garments.  I've been pinning a few items and have been leaning towards that color scheme.

I'm over halfway done, having gone through a full skein of the yarn, and am well into the second.

And now, onto my entry for the Covered in Stitches embroidery contest.

He's so flippin' cute!
A few months ago, Feeling Stitchy posted pictures of Jillian Tamaki's needlework book covers for a few Penguin classics.  The covers were gorgeous and had me wanted to snatch up each one of them (Black Beauty, Emma, and the Secret Garden).  I was so inspired by the images that I instantly jumped on Feeling Stitchy's book cover contest.  The challenge? To design your own needlework book cover based off of an existing design.  I instantly knew that I wanted to do the Little Prince.  I love the book and have a mini collection (ok, figurines, postcards, lunch box, a couple of copies of the book in French and English, etc) that I've been hoarding for years.  It's such a beautiful story and I love the illustrations throughout.


I set to work on making a transfer of the design.  With this project, I wanted to try all new things.  In the past, I've mainly done basic cross stitch on heavy Aida fabric.  This time I knew I wanted to use linen, and do crewel embroidery... primarily satin stitch, chain stitch, split stitch, etc.  I used tutorials from all over the web, but primarily from Sublime Stitching who also had the materials I needed for the transfer.

Made the transfer of a tracing of the cover. Colors selected and all ready to be stitched up!
I started stitching my entry, in the meantime seeing that another Little Prince was made. I was bummed but I'm glad to know it's such an inspiring book for so many people.  At the same time, I was enjoying seeing how mine was turning out, and loving the new techniques that I was getting to try. It was also great to see another interpretation of the book.  So on with the stitching I went!


I finally finished my submission this weekend, with it taking just over a month to put together.  I love how it turned out and instantly had ideas in my head for a series of book covers.  These would be so perfect for a library, a child's room, etc.  I've already framed this one... but now I just need to figure out what's next!


If you have a chance, check out the Feeling Stitchy Flickr group.  You can see all of the beautiful submissions so far and even submit your own!

Pincushion Jar Tutorial

I can't believe it's already mid-October! With just a couple of months until the holidays are really upon us, I decided I should get started on my crafty gifts.  I saw these pincushion jars floating around the web in the last year and wanted to put together a tutorial for my version.  They're easy to put together and are a great gift for your crafty friends.

Time:
5-10 minutes.  They come together really fast!

Supplies:
Mason jar - I use 8oz or larger so that it's a decent size to hold sewing notions.
Fabric scrap, cut a few inches larger than the jar lid
Handfill of polyfill/toy stuffing
Small piece of decorative paper
Glue gun


1. If you haven't already, cut your fabric scrap into a circle a couple of inches larger than the jar lid.  I recommend cutting a little larger than you expect as you can always cut back the excess.  Also, trace the inner lid piece onto the decorative paper.  Cut out.


2. Now, take the fabric scrap and place over the main jar lid.  Push stuffing into fabric, and cover with the inner jar lid.  


Pull fabric tightly, adjusting the fill as needed until the pincushion shape is formed.


3.  Cut off excess fabric, so that there is just enough to glue down and seal the pincushion lid.  Using the glue gun, pipe glue onto inner jar lid and press fabric down.


4.  Once the fabric is glued down, apply glue to top of fabric and apply decorative paper.  


Your jar is now complete!  Give as is, or fill with fun items for a craft gift.  You can make a sewing kit by throwing in some little scissors, basic threads, needles, etc.  Other uses could be filling it with buttons, zippers, or other sewing notions.


I'll be posting this on the Crafty Christmas Club blog.  If you haven't been there, it's a great site where people post their holiday tutorials.  Tilly (from Tilly and the Buttons) launched it last year, and it's back for this holiday season.  Go check it out!


This post will be participating in the following Linky parties:

Related Posts Plugin for WordPress, Blogger...